
I have spent a good portion of my evenings during the last two weeks working with a piece of community software called Discourse. I’ve installed it, removed it and reinstalled it about a dozen times. This guide contains everything I’ve learned about setting up Discourse on DigitalOcean.
In 2010 I stumbled upon a website called Hacker News. I was completely blown away by how many smart people simply gathered there to discuss the news of the day. In the years since I’ve joined a ton of different online communities—all with their own interests.
So, why this guide? Well, there are two reasons. The first is selfish. I decided to move my product review site, Product Dork, from WordPress site to a forum. One of the best ways to learn something is to write about it. So here it is!
The second reason is because I want to help you build a cool place to hang out online. I am a huge fan of online communities and maybe you’ve got a great idea for one. You just need a bit of help to get it off of the ground.
If you do make it through this guide, leave a comment. What are you building? Who is it for? What was the most or least helpful thing in this guide?
Table of contents
- What you’ll need before installing Discourse
- Configuring your DigitalOcean droplet
- Installing Discourse on DigitalOcean
- The first-time setup wizard
- Updating to the latest version of Discourse
- Enable automatic backups
- Add HTTPS support with Let’s Encrypt
- Add the Discourse sitemap plugin
- Add your domain to “exclude rel nofollow domains”
- Create your first categories and topics
What you’ll need before installing Discourse
There are a few things you really should have before getting started. You can get started and set them up as we go, but this guide will be easier to follow if you already have these.
- A DigitalOcean account—signup from that link and you and I both get free credits!
- An SSH key setup and added to DigitalOcean
- A domain you’d like to use from Namecheap
- An account with Mailgun or another cloud-based email service
- Basic knowledge of Unix (command line) commands
As I mentioned, you will need your SSH key added to DigitalOcean. If you think you already have a key, you can check by running the following commands.
cat ~/.ssh/id_rsa.pub
or
cat ~/.ssh/id_dsa.pub
If you don’t have a key, DigitalOcean has a set of instructions for getting one.
Also, this guide may be a bit tough if you don’t know basic Unix commands—mainly how to move in and out of folders. The CD and LS sections in this introduction will get you a good portion of the way there.
Configuring your DigitalOcean droplet
If your day job is to build or maintain software applications, I doubt you’ll need this part of the guide. Unless you want some extra reading, the 30-minute guide hosted on GitHub should work just fine.
So you’ve got everything in order and are ready to start the installation process? Great! We’re going to walk through the process step-by-step.
First we’ll need to create a droplet on DigitalOcean. A droplet is a scaleable server for our application.

The next screen will contain all the details needed to setup our droplet. Under choose an image One-click apps and then select the Discourse app. At the time this guide was written it is Discourse 2.0.20180802 on Ubuntu 18.04.

Next we’ll choose a droplet size for our Discourse application. I would recommend starting with the 2GB memory with 50GB SSD for $10 per month. DigitalOcean now allows RAM, CPU and disk to be upgraded later. This is a relatively new feature and means you can pay more as your community grows.
I should note that once you upgrade the disk size, it cannot be downgraded later. Memory and CPU can be upgraded or downgraded.

There are a couple of add-ons for our droplet that we’re going to ignore. Backups and block storage. If you are worried about backups, Discourse has a built in feature that automatically runs back-ups.

You’ll need to select a DigitalOcean datacenter for the droplet to live. You should select the center closest to the majority of your users. I don’t expect you’ll see a ton of performance differences between New York 1 and San Francisco 1.

Private networking, IPv6, User data and Monitoring—these are all options we can ignore for now.

Next you’ll want to add your SSH key to this droplet. Here I’ve selected my iMac as well as my Macbook Air. This will allow you to access this server through your terminal instead of having to fiddle with a virtual one within a browser.
If you need to create an SSH key, please check out DigitalOcean’s documentation.

The last thing I would do is change the hostname. By default DigitalOcean will give you something like discourse-s-2vcpu-4gb-sfo2-01. I like to rename the host to either the project or domain name of the project.
This step is optional. If this is your only droplet it’s not a big deal. If you have several DigitalOcean droplets named by nondescript server specs, it can get messy.

Once you’ve finished filling out the details about your droplet, click Create!
Sit back and relax. It will take a couple of minutes for the droplet to spin up. In the next section we’ll take a look at the initial configuration items for Discourse.
Installing Discourse on DigitalOcean
Once your droplet is created, we’ll need to go through the initial configuration items for Discourse. We’ll SSH into our newly created droplet and begin filling out some important information. This is where we’ll create the first admin, add a mail server and tell discourse the domain we’ll be using.
At this point in the installation process I would recommend pointing your domain to your droplet IP address. You’ll want to look for advanced DNS options with Namecheap or the domain registrar you purchased your domain from. You’ll want to create an A record pointing to your droplet IP address and a CNAME record with a www host pointing towards your domain name. Your registrar should have more documentation on how to do this.
You will also need to have your cloud email provider details handy—specifically the SMTP server, Username and Password. I recommend Mailgun, but any cloud email provider will do. Make sure you follow their steps to setup your MX records, SPF and DKIM. If using Mailgun, this Discourse Meta thread may be useful.
Find your newly created Droplet within DigitalOcean and locate the IP address—this will likely appear next to IPv4 in your droplet’s dashboard.
Copy that IP address.
Now we’re going to use that IP address to SSH into the droplet. Open your terminal and type the following where IP_ADDRESS_HERE is the IP address of your droplet.
ssh root@IP_ADDRESS_HERE
You should then be prompted to enter the password associated with that SSH key. Once you’re in the droplet you can always leave it by typing exit.
After that, the following message should appear. When you see it, hit enter to get started.
Thanks for using the DigitalOcean Discourse Application Image.
To get started, the following configuration details will be required.

- Email Address for the Discourse Admin Account
- The hostname (domain or subdomain) you will use for Discourse
- Details for the SMTP server your Discourse install will use to send email

To skip the Discourse setup for now, press Ctrl+C. You will be prompted again on your next login.

You can also re-run this setup script at any time with the command:
bash /var/lib/digitalocean/discourse.sh

Please press enter when you are ready to configure Discourse.

This script will prompt you until _all_ values are populated.
Once you do hit enter, you’ll be prompted for the following details. The only thing that isn’t clear is what SMTP port you should use. Unless you have a specific reason, the default 587 should work fine.
Enter the email address to use for the Discourse admin account (ex. user@example.org):
Enter the domain or subdomain pointed to this Discourse instance (ex. forum.example.org):
Enter the SMTP server to use to send email (ex: smtp.example.org):
SMTP Port (default 587):
SMTP Username (ex. user@example.org):
SMTP Password:
One you enter your SMTP password, your Discourse instance will begin installing. This will take a few minutes.
Once the install completes, you will be prompted for a username and a password. This will be the first user account for your Discourse application. You will use these credentials to login to your Discourse application.
Do you want to grant admin privileges to this account? (Y/n)
You will also be prompted if you want to make this user an Admin. I would say Yes. I don’t know why you’d want to create a non-admin user here.
Note: Discourse admin passwords must be at least 15 characters long.
If everything goes correctly you’ll see the following message.
Discourse has now been configured. You may now finish setting up Discourse
by creating an account at:
http://YOUR_IP_ADDRESS
Congratulations! The installation work is done and your Discourse app should now be visible at the domain you specified.
Next we’ll go through the first-time setup wizard, which will help you fill out details of your site.
The first-time setup wizard
The default Discourse application should now be visible on your domain. Login with the admin username and password you created in the previous step. You will be guided through Discourse’s first-time setup wizard.
If you don’t know something for certain take your best guess. While most of this information is required, it can be changed later.
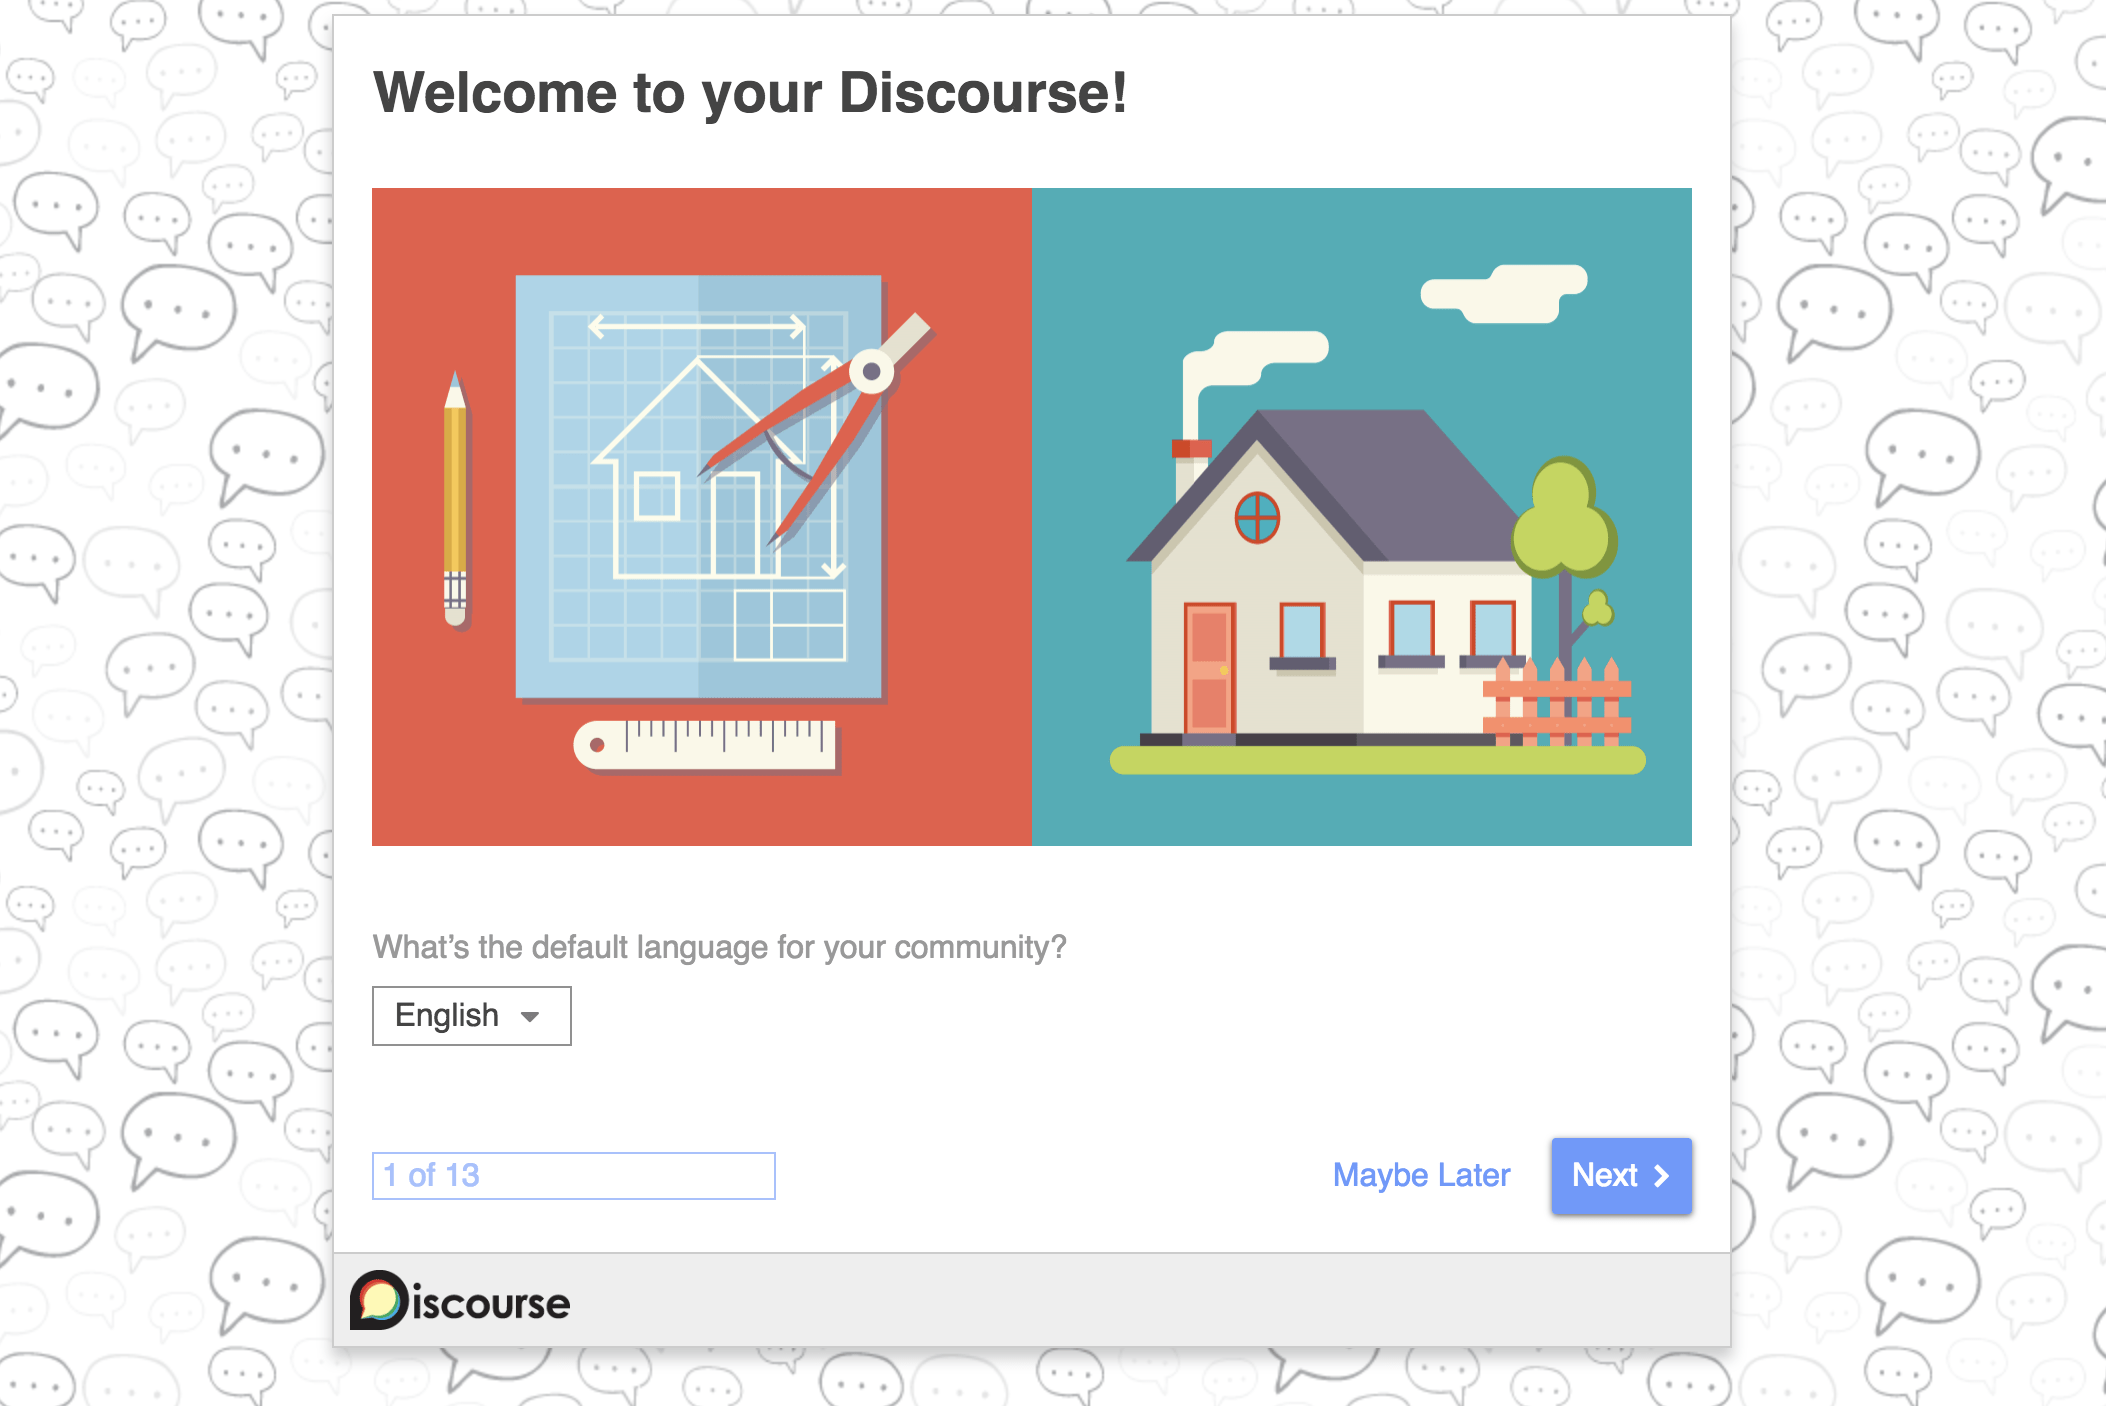
The first step will be to set a default language for your community.
The second step is your community name and description. This will appear as title and meta information in search results. If you’re unsure about these for now, this can be changed in Settings > Required after completing the wizard.

Think of the welcome topic as a short about page for your blog. This will be pinned to the top of your forum and is the first topic any visitor will see. As you can see, I’m still working on the welcome topic for Product Dork, but it is coming along.

If you plan on inviting staff or populating your forum with content before letting people join, you can opt to make your forum private. If this is a new project and you’re not trying to migrate an existing community, I’d say make it public from the start.

Basic contact information here. If you’d rather automated messages appear from you or another admin account, this can be changed here.

Organization information will be used to create a boiler-plate privacy policy and terms of service. You can see an example of this in action on the Product Dork Terms of Service and Privacy Policy pages.
You can always edit this information from Settings > Required, or update the policy and terms from those individual pages.

Discourse ships with a few default theme options. None of them are terribly different other than color. I’d say pick one that is as close to your ideal as possible.
I’m still learning about customizing discourse. Editing and customizing themes will have to be part of a separate post.

This is where you’ll upload logos for your forum. One will be a larger one visible when the user is at the top level of the site. The other is slightly smaller and appears as users begin to scroll down the page on posts.
Note: Both the primary and compact logo are set to a max-height of 40px. I would recommend exporting your logos with a height of either 80px or 120px to take 4k and retina displays into account.
These other icons are used as favicons or when users add your application to their phone. I I should probably upload a better large icon here. The logo shouldn’t go all the way to the edge.
On step 10 you’ll choose how to lay out your homepage. My preference for forums and newsboards is latest topics. Alternatively, you could split latest topics and categories.

What emoji set to use is another personal preference. As much as I love the Google Classic blob emojis, I went with Twitter’s set.
The final step in the Discourse wizard is to invite any staff or moderators. You can leave this blank and always add them later from User Profile > Invites.

Congrats! Your basic setup is now complete!

Additional post-install settings
Your forum is almost ready to go. However, there are a few more settings I would tweak before considering this installation done. None of these are required, but I would highly recommend it.
Update to the latest version of Discourse
The first thing I would do is make sure that you are using the latest version. Sometimes the DigitalOcean distribution is a couple of versions off. If you’re up to date, you’ll see a green smiley face like in the screenshot below. If you’re a version or two behind you’ll see a button encouraging you to update.

Should you need to update your forum will be down for a few minutes. If you already have traffic consider waiting to late at night or early in the morning to update.
Enable automatic backups
Another thing we’ll want to do is enable automatic backups for our forum. This will allow data to be recovered, should something catastrophic happen.
You can find details about backups under Settings > Backups. The main the to ensure is that Run automatic backups as defined by backup frequency is checked.

As you can see Discourse will keep the 5 most recent backups and run a backup once a week. Also, you may also manually run a backup at any time from the backups tab.
Add HTTPS support with Let’s Encrypt
You’ve probably noticed the little lock near the URL in your browser. This lock ensures that the site has a valid SSL certificate and is not vulnerable to attacks.
I think this hubspot article does an excellent job of explaining why SSL is important.
In hacker lingo, this “interception” is often referred to as a “man-in-the-middle attack.” The actual attack can happen in a number of ways, but one of the most common is this: A hacker places a small, undetected listening program on the server hosting a website. That program waits in the background until a visitor starts typing information on the website, and it will activate to start capturing the information and then send it back to the hacker.
But when you visit a website that’s encrypted with SSL, your browser will form a connection with the webserver, look at the SSL certificate, and then bind together your browser and the server. This binding connection is secure so that no one besides you and the website you’re submitting the information to can see or access what you type into your browser.
Before you start inviting people to your site, you’ll want to get an SSL certificate. Once people start posting content some of your pages may contain mixed content. Every resource loaded will need to be HTTPS for it to work. If you’re curious about the inner-workings, there’s a ton more detail on this Let’s Encrypt for Discourse post.
There’s lots of good news here. Let’s Encrypt offers free SSL certificates and Discourse makes it easy to install them.
First you’ll SSH into your DigitalOcean droplet.
ssh root@IP_ADDRESS_HERE
The navigate to the app.yml file, which contains all the configuration options for Discourse. The file lives inside of the discourse/containers directory.
cd /var/discourse/containers
Now we need to open the app.yml file. We’ll do that with the nano command.
nano app.yml
Once in the app.yml file, you’ll want to uncomment the two lines at the bottom of the templates section. To uncomment them simply remove the hastag or pound symbol.
templates:
- "templates/postgres.template.yml"
- "templates/redis.template.yml"
- "templates/web.template.yml"
- "templates/web.ratelimited.template.yml"
## Uncomment these two lines if you wish to add Lets Encrypt (https)
#- "templates/web.ssl.template.yml"
#- "templates/web.letsencrypt.ssl.template.yml"
You’ll also want to make sure port 443 is exposed. I believe this is now uncommented by default. You may want to double check.
expose:
- "80:80" # http
- "443:443" # https
The final thing we’ll do is add a contact email for Let’s encrypt. replaces me@example.com with your email and uncomment that line.
## If you added the Lets Encrypt template, uncomment below to get a free SSL certificate
#LETSENCRYPT_ACCOUNT_EMAIL: me@example.com
Try visiting your site with https:// instead of http:// It may take a minute or two for the secure site to start appearing.
If you have issues, Why No Padlock can help you find any on-page content that is not secure.
Add the Discourse sitemap plugin
This section will teach you how to install most Discourse plugins. However, we’ll specifically be installing the Discourse sitemap plugin, which is one that I think every community would benefit from.
Discourse is pretty SEO-friendly. However, the sitemap will help for websites of all sizes. For small sites with few backlinks it will tell Google and other search engines that the site exists. For large sites that are being migrated to discourse. It will help the indexer crawl existing pages that may be buried or difficult to find.
While configuring Let’s Encrypt you may have noticed a plugins section towards the bottom of the app.yml file. It looks something like this.
## Plugins go here
## see https://meta.discourse.org/t/19157 for details
hooks:
  after_code:
    - exec:
        cd: $home/plugins
        cmd:
          - git clone https://github.com/discourse/docker_manager.git
This is where you’ll go to add plugins to discourse.
To add Discourse sitemaps, go to the Discourse GitHub page and copy the link under Clone or Download.

Now we’ll add git clone along with that link to the plugins section of the app.yml file. Make sure to keep the same format as the docker manager. When you’re done, it should look like this.
## Plugins go here
## see https://meta.discourse.org/t/19157 for details
hooks:
  after_code:
    - exec:
        cd: $home/plugins
        cmd:
          - git clone https://github.com/discourse/docker_manager.git
          - git clone https://github.com/discourse/discourse-sitemap.git
Now we’ll close and save the file the same way we did before. Once you’re finished press control+X to exit app.yml. It will ask if you’d like to save any changes you’ve made. Press Y for yes. Then hit enter, which should overwrite ./containers/app.yml.
There is one additional step we’ll need to take to install the sitemaps plugin. Whenever plugins are added Discourse will need to be rebuilt. To do that we’ll type the following.
cd /var/discourse
and then
./launcher rebuild app
Be aware that while the application is rebuilding, it will be down. This can last for up to 10 minutes, although I’d say it usually takes 3 or 4. If your community has started to take on users, I’d encourage you to only rebuild the application when there are few users on the site. I’d say late at night or early in the morning.
Now we could be done, but there is really one more step here.
We should add our sitemap to the Google Search Console. This will tell Google’s crawler how to navigate the forum and will help more pages appear in results sooner. As a bonus you could also submit your sitemap to Bing Webmaster Tools.
For further reading on installing plugins, checkout this Discourse post.
Add your domain to “exclude rel nofollow domains”
The rel HTML attribute instructs some search engines how they should view the ranking of a hyperlinked website. For a time it was common for spammers to flood comment sections and forums with links to their websites. This would boost their backlink profile and thus their search rankings. You’ll still see some spammers trying to boost website rankings through such methods, but things such as nofollow have largely made the practice irrelevant.
Out of the box Discourse nofollows all links, which is the right move. However, this includes the domain that the forum itself is on. While some Discourse settings can be glossed over, this one is important to help search engines find and rank content on your forum.

I would strongly suggest looking for the exclude rel nofollow domains option under required settings and adding the domain your forum is hosted on. In the example above, I’ve added Product Dork’s domain, productdork.com, to the list.
Adding the top-level domain here will also cover subdomains—reviews.productdork.com or deals.productdork.com for example. If you have a corporate website that has a separate domain then it would be worthwhile to add that domain here as well.
Create your first categories and topics
Discourse uses categories as a top-level way to organize discussions. These categories will define how visitors will interact with your site, so think carefully about them.
Product Dork is a Q&A forum for people researching things they are about to buy. With that in mind I created three primary categories: Questions, Reviews and Deals.
Questions are the meat of the site. When someone is planning on making a purchase, they can ask it here and get an answer from someone who has already made a purchase or done the research. Reviews are only written by me and contain longer-form content about things I’ve purchased. Right now it is just me, but I hope to have others contribute in the future. Deals are postings about discounts on recommended products.
Once you have a few categories, consider seeding your forum with a few topics. Currently most of the topics on Product Dork were posted either by me or friends of mine.
Final thoughts
When I set out to create this guide. I wanted to do one thing—explain how to install Discourse on DigitalOcean. However, the more things I’ve learned, the more I feel compelled to write. This has become a more complete guide covering installation as well as initial setup and some early best practices.
I hope you’ve found this guide helpful. I do realize that there is always room for improvement. Is there something that I missed? Something that I could have done or explained better? If so, I’d love to hear from you in the comments below.
Thanks for reading!
Comment